The Gardenisto

The Gardenisto is passionate about aquaponics, hydroponics, horticulture, and traditional gardening. The Gardenisto shares his knowledge to help other enthusiasts in their own gardening endeavors.

Mushroom Grow Box

| February 20, 2015
Oyster Mushrooms
Photo Credit: Keith Knoxsville
A Hen and a Drake Green Teal on the truck bed. Not a limit on anything, but a fun morning out.

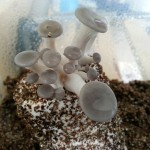
In an effort to increase mushroom yield, reduce maintenance, and improve environmental controls such as more stable humidity and fresh air exchange, we applied some basic programming, sensoring, and automation to a large clear tote and created an automated mushroom grow box.

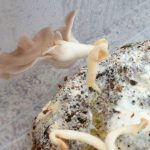
Winter-Oyster-Cluster-2Winter-Oyster-Cluster

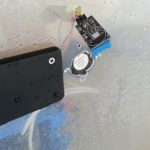
DHT11-Sensor

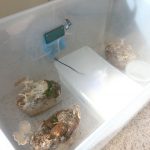
Grow-Box-Revealed

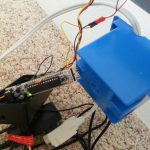
Really-Bare-Bones-Arduino

The basic mushroom growing environment uses 3 simple principles and a few electronic components.

Principles:
Cycle small fan to evacuate the air volume of the growbox, and draw fresh air in through a hepa filter.
Sample Humidity every 60 seconds.
Turn on a small fogger/humidifier until a humidity of 85% is achieved.

If this type of work is beyond the scope of your skills or abilities, the same system can be built with less technical components than those listed below. Although it wouldn’t be as precise, you could just use a mechanical timer to cycle a humidifier on and off a every other hour, or 30 minutes, and adjust the frequency and length of time the humidifier is on, based on the health of any mushrooms. Although you would have to open the lid occasionally to let in fresh air, as its important to mushroom growth.

If you want to build our mushroom grow box, with humidity controller, the list of parts and where we sourced them are further below.

If you just want to learn how the absolute basics to the commercial mushroom production/life cycle, check out our article here: Mushroom Life Cycle.

If you want to learn more about controlling AC power with small programmable boards check out our article on that: Real World Arduino Use.

Components:
Arduino (c programmable microcontroller) Really Bare Bones Arduino $12 usd from ebay
Solid State Relay – Used logic level 120-240vac 3-32vdc driven relay $4 usd from ebay
DHT11 Sensor – Humidity and Temperature Sensor $5 usd electronics parts store
Switchable Power Supply – 25$ usd from Best Buy
Fog Machine – $9 usd with cool LEDs from chinese vendor on ebay
18g Clear Tote – $7 usd Wally World
Gang Box – $1 usd Any hardware store
CPU Fan – $2 usd from ebay
Vacuum Cleaner Hepa Filter – $3 usd On clearance at a discount store

Decide to build the mushroom grow box? Send us an email or leave us a comment and we’ll send you the source code we used for the Arduino. It uses a little bit of simple code, as well as the TimeAlarms and DHT11 libraries made for Arduinos.

Tags: , , | Comments

Mushroom Life Cycle

| August 17, 2014
Photo Credit: Keith Knoxsville
A Hen and a Drake Green Teal on the truck bed. Not a limit on anything, but a fun morning out.

Commercial Oyster MushroomGrowing mushrooms is a great alternative for those without garden space or access to a community garden. But before growing your own mushrooms, its a good idea to understand some basics about mushrooms, fungi, and the mushroom life cycle.

Genetically fungi are closer to humans than plants are. Although we talk about ‘growing’ mushrooms as if they were a plant, they are really nothing alike.

Mushrooms are the fruiting body of a mature fungus. Dense colonies are formed, in various cellulose based substrates such as logs, paper, coffee grounds, etc, from vegetative mycellium. When the vegetative mycellia is mature enough, it is able to rapidly erect a fruiting body and produce spores.

With regards to cultivation. The Mushroom growing process is best segmented into 3 stages. 1 – Inoculation of a substrate. 2 – Colonization of a substrate. 3 – Fruiting.

Inoculation:
In mushroom cultivation, mycellium is taken from the base of a fruiting body or started from spores. Either the spores or mycellia, are used to inoculate a sterile or pasteurized substrate. Sterile and lab type procedures are used to prevent unwanted fungal or bacterial infections.

Colonization:
The mycellium grows throughout a substrate. The substrate is allowed to completely colonize into a dense mass of substrate and white mycellium.

Fruiting:
Following the complete colonization of a substrate, environmental changes such as lighting, humidity, gas exchange, and temperature, are manipulated to induce the the formation of fruiting bodies(mushrooms). 24-48 hours of a cold shock, and high relative humidity, usually spur on the formation of primordial pins(mini mushrooms).

A fresh supply of oxygen and gas exchange, controlled lighting, and humidity, will manipulate the size, shape, and density of mature mushrooms. A mushroom’s genetics will also play a significant role in size, shape, and quality.

| Comments

Chokecherry

| August 12, 2014
Photo Credit: Keith Knoxsville
A Hen and a Drake Green Teal on the truck bed. Not a limit on anything, but a fun morning out.

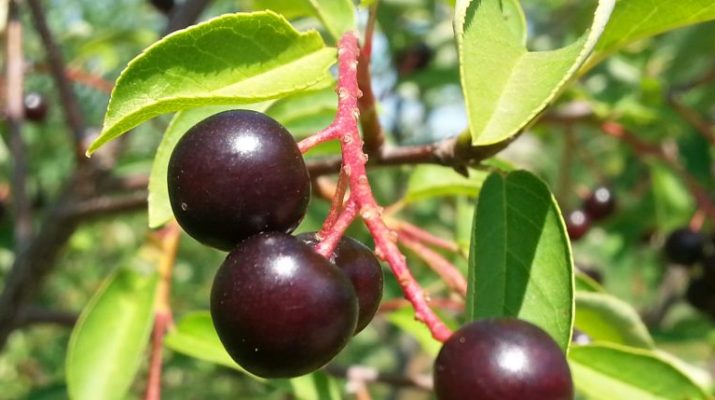
Chokecherry FruitChokecherry, otherwise known as bitter-berry and Virginia bird cherry, is a bush in the rose family, capable of producing prolific amounts of berries, even in poor climates.

The berries, red to dark purple almost black, grow in dense clusters, are astringent, and not suitable for consumption without processing. They are high in antioxidants, but are toxic without processing. All other portions of the chokecherry plant are toxic, and should not be consumed.

Chokecherry bushes are suckering bushes that can grow tree like, to heights of 16 feet. Leaves can be up to 4 inches long. They are heavy fruit bearers, weight of fruit clusters cause the limbs droop in late summer and fall.

The fruits can be processed with sugar to make a syrup or jam, with a pleasant flavor, similar to a black cherry or boysenberry.

Chokecherry fruits were also dried and hammered into pemmican by native cultures. Pemmican recipes often include a combination of sugar, dried or smoked meats, lard or fats, and is hammered together.

Although similarly named, and distantly related in the Rosacea family, Chokecherry(Prunus Virginiana) should not be confused with Chokeberry(Aronia).

| Comments

DIY Plant Tissue Culture Media

| August 7, 2014
Photo Credit: Keith Knoxsville
A Hen and a Drake Green Teal on the truck bed. Not a limit on anything, but a fun morning out.

We’ve updated the DIY Plant Tissue Culture Media post to include an easier media solution. You will need the followiing:

There are various types of tissues from which a plant can be cultured. Sometimes plant propagation requires multiple stages of tissue culturing, with different media, hormones, or different media consistencies.

Similar to sitting a plant cutting partially submerged in water on a kitchen window sill, sterile liquid media can be used, but most explants should not stay submerged in media or they will be deprived of proper gas exchange and fail to thrive.

Besides keeping all your instruments clean, and properly sterilizing media, the other difficulty is getting your recipe right. Making media can be a bit like the story of ‘Goldilocks and The Three Bears’. We needed to make media, test media, and adjust media to get the correct consistency, ph, and hormone balances.

Experimenting with small batches and making adjustments is the best way to settle in on a good media recipe. Not too firm or you’ll bind up the transportation of nutrients and deprive explants, and not too soft to the point the explant would sink and become deprived of oxygen.

Old Recipe

Our base recipe makes approximately 200ml of media. We are able to fill 10 1.5 oz vials about 1/3 full, or sufficiently fill 3 1/2 pint jars. More media can easily be created by multiplying all the values.

Media Preparation: Prepare the autoclavable vials, jars, or other suitable containers that will receive the media, and equipment to be used prior to preparing the media.

  1. Measure out the liquid components of purified water, coconut water, liquid nutrients, and any dissolved hormones.
  2. Heat and thoroughly dissolve sugar into liquids.
  3. Let cool and adjust ph. If you used PH adjusted fertilizers, this step will hopefully be unnecessary. Otherwise the use of ph adjusting chemicals may be necessary
  4. Heat the ph adjusted liquid.
  5. Thoroughly dissolve agar into liquids.

After all solids have been evenly dissolved, either pipette or carefully pour media into your tissue culture vessels.

Sterilizing Media: This step involves any of three methods, and depends on the tools available. They are Autoclaving, Microwaving, or Pressure Cooking. If you started by reading our Intro to DIY Plant Tissue Culture, and are working off of our equipment list, then you will likely pressure cook your media. As such, we’ve included basic procedures for preparing media with a pressure cooker.

Sterilizing Media: Pressure Cooking

The pressure cooker is sometimes abused to make destructive bombs. Why? Because some people are sick and deranged. Really though, because containing increasing pressure in any sort of vessel can be dangerous. To avoid, accidents, injury or death, PLEASE READ all of the instructions included with your pressure cooker, then read them again and again until you understand them.

  1. Fill the bottom of the pressure cooker with your pressure cookers recommended amount of media for a 3 to 25 minute cook time at 15psi.
  2. Place your autoclavable containers with media inside the pressure cooker. Do not seal or cover the containers with anything other than loose foil. A completely closed, or sealed container that cannot breathe will explode.
  3. Rapidly heat the pressure cooker to get it up to pressure. Depending on model, the pressure cooker should have some sort of lock that engages as the pressure rises to prevent opening.
  4. As soon as the steam pressure regulator starts bobbling, drastically reduce heat until the regulator bobbles gently.
  5. Start the stop watch or timer.
  6. The regulator should gently rock for the duration of the sterilization time, which can range from just a few minutes to 25 minutes. Time will depend on the volume of media. We manage to get 0% contamination from the volume of media that our base recipe will make, in only 5 minutes of pressure cook time.
  7. After cooking, remove from heat, and wait for the lock to disengage.
  8. Carefully, remove the pressure cooker lid when it is ready to be released.
  9. Without burning yourself, quickly close or tighten media jar lids that have synthetic filter disks. We do this very cautiously as the pressure cooker is still cooling, and the steam is still rising to keep any unwanted pathogens from entering the positive pressure environment of the cooling pressure cooker. Running the hood fan on the stove during this process also helps prevent the settling of any unwanted pathogens.

Improved Recipe

After some trial and error with the basic recipe, we observed some explant and media browning, and made some adjustments. We added citric acid to the media to prevent and treat phenol exudates from oxidizing.

Sterilization can be hard to maintain, using a good broad spectrum biocide, also known as Plant Preservative Mixture or PPM, to prevent fungal and bacterial growth can make a huge difference.

High moisture levels in our culture vessels seemed to affect our explants in early trials. In later trials we added autoclavable synthetic filter disks to our jars, and adhered them with high temperature RTV gasket maker/sealer. In other cases we taped over a small holes in the lid of our vials with an adhesive micropore filter.

Tags: , , , | Comments

Coffea Liberica aka excelsa, dewevrei, dybowskii

| August 7, 2014
Photo Credit: Keith Knoxsville
A Hen and a Drake Green Teal on the truck bed. Not a limit on anything, but a fun morning out.

leaf tip dybowskii dewevrei coffea liberica excelsaDescription: The Coffea Liberica is a ‘large’ or ‘giant’ leaved coffee variety. Its leaves are much larger and longer when compared to other Coffea Species. Liberica is one of the least commercially cultivated coffee varieties. Although it originated in Liberia, it has been introduced and commercially cultivated in both the Philippines and Vietnam. Scientifically, although once considered unique species of coffee, Coffea excelsa, dewevrei, and dybowskii were all recognized as the same species. They are now all considered synoyms for Coffea Liberica. The coffee of the liberica species grown in the phillipines is commonly known as kape barako, or kapeng barko; with baraco considered an alternative spelling.

Coffea liberica can be most easily identified by the combination of both large leaves and the bronze color of new leaf growth. Pictured left.

Growing Coffea Liberica:
Its possible to grow Coffea Liberica indoors unto the point it gets too big. Liberica Coffee can be grown from seed or propagated from cuttings. Our success rate germinating Coffea Liberica has actually been much greater than growing other coffee varieties from seeds.

| Comments

Seed Starting Guide Part 1

| May 11, 2014
Germinating Seed
Photo Credit: Keith Knoxsville
A Hen and a Drake Green Teal on the truck bed. Not a limit on anything, but a fun morning out.
Seed germinating can yield a spectrum of results; from complete failure, to great success. Given the additional care required to successfully start plants from seed, it makes sense that many opt to purchase already established plants.

Sometimes high value plants, or greater value growing from seed, will justify the extra effort. Whatever the reason for starting from seed, there are quite a few things that can be done to improve germination rates. We’ve put together a comprehensive guide to successful seed germination, to help you increase your rates of success.

Germination Chambermore seedling brainseed coat breaking
Seed germinating involves: Seed Preparation, Seed Treatment, Imbibing, Pre-Germination, Sowing, Continued Care in the ideal conditions for your plant species, and hardening off.

Part 1 of the Seed Starting Guide covers: Seed Preparation, Seed Treatment, Imbibing.
Part 2 of the Seed Starting Guide covers: Pre-Germination, Sowing, Continued Care in the ideal conditions for your plant species, and hardening off.

Seed Preparation
The goal of seed starting is to give seeds ideal conditions, and no hurdles to growth. It may be necessary to simulate the seeds natural growth by doing a combination of the below seed preparations.

  • Drying: In some seed starting scenarios the fresher the better. Other times the seed has to be dried to simulate a natural environment, and stimulate germination. Refer to a seeds plant data to determine if you should allow additional drying.
  • Stratify: Some seeds, especially from plants evolved to endure freezing winters, need to be chilled. Seeds from many Raspberries, currants, blueberries, etc., need to be wrapped in a freezer bag, and chilled at freezing temperatures for 30 to 90 days.
  • Scarify: Seed coats can be tough, and prevent the seed from becoming imbibed. Knicking seeds with a knife edge, or rubbing with an abrasive sand paper will help some seeds to absorb water. This works by mechanically damaging or partially removing the outer seed coat.
  • Seed Coat Removal: Some seeds do better or germinate faster with the seed coat removed. The seed coat can be blanched till softened, being careful not to cook the seed inside, and then mechanically removed. For better instruction on seed coat removal, refer to our post Growing Tamarind from Seed.

Seed Treatment
Seeds can harbor unwanted fungus or bacteria, and lead to the die out of a germinating seedling. Cleaning the seed of any pathogens that could lead to die out will increase the chance of successful germination. Typical seed treatments include the following.

  • Bleach: A 10 minute soak in a dilution of of bleach, that does not contain additives like sodium hydroxide or fragrances, is sufficient to kill most unwanted nasties on a seed coat. To make the bleach dilution add 90ml of water with 10ml of 6-9% sodium hypochlorite.
  • Hydrogen Peroxide: The United States EPA recognizes Hydrogen Peroxide as an organic treatment for agricultural crops. A dilution can be made by mixing 3 parts Water to 1 part 3% hydrogen peroxide. Hydrogen Peroxide should be unadulterated(no preservatives added) food grade H2O2, or ‘organic’ practices according to the US EPA won’t be satisfied. OMRI also lists Hydrogen Peroxide as a safe disinfectant.
  • Alcohol: (Isopropyl or Ethanol) This is less common for seeds, and more common for explants in tissue culture, but a dip into alcohol for 10 seconds, followed by a quick rinse can also be effective.
  • Other Fungicides, Insecticides, and Mutagens: Many other treatments exist. Some are very toxic to humans, and you should investigate or ask your local agricultural extension more about them before use. The treatments have a wide range of purpose and complexity. We don’t recommend any of them for basic seed starting, but thought it pertinent to the guide to provide some basic information for the curious. Other treatments include Copper, Potassium Bicarbonate, Thiram, Salicylic acid, common aspirin(Acetyl Salicylic acid), Bacillus Thuringiensis, Colchicine(a highly toxic mutagenic treatment), and even genetic modification through recombinant DNA so plants express genes from Bacillus Thuringiensis.

Imbibing
Sterile or close to sterile seed, can now be imbibed. This is simply soaking seeds in water until they become fully hydrated. Soak seeds in water, changing water once or twice a day, for up to 72 hours. 4-18 hours is usually sufficient. Diluted hydrogen peroxide can be used, with a much lesser concentration than the sterilizing soaks, to help prevent contamination during the soaking process.

Sterile IBA hormones, GA3 hormones, or even sterile raw young coconut water, can be added to this stage to promote seed germination and a breaking of seed dormancy. Hormones may increase success rates, but are not necessary. Alternative treatments such as chamomile tea, or worm tea can also be used, but are also not necessary. Because the process we adhere to is a mostly sterile and pathogen free process, we don’t actually recommend any sort of tea treatment, at this stage.

Continue to Part 2 of the Seed Starting Guide: Pre-Germination, Sowing, Continued Care in the ideal conditions for your plant species, and hardening off.

Tags: , , , , , , | Comments

Seed Starting Guide Part 2

| May 11, 2014
Seedlings Under Fluorescent Lights
Photo Credit: Keith Knoxsville
A Hen and a Drake Green Teal on the truck bed. Not a limit on anything, but a fun morning out.
Welcome to Part 2 of the Seed Starting Guide. We’ll continue our guide by covering Pre-Germination, Sowing, Continued Care in the ideal conditions for your plant species, and hardening off. If you missed it, go to Part 1 of the Seed Starting Guide. Otherwise, we’ll continue.

Pre-Germination
During the process of imbibing a seed, its not uncommon for a seed to sprout a primordial root. If a seed exhibits a radicle or primordial root, lightly sow the seed bottom side facing down, in a seed starting medium. If you are uncertain about the seeds orientation, place it on what you can best discern as ‘its side’. At this stage a lot of people use the baggy method, wherein seeds are sandwiched between damp coffee filters or paper towels, placed inside a sandwich bag, and left on the warm spot on top of a refrigerator.

Although many people may have great success with this method, the majority of us here at Gardenisto couldn’t care less about this method. We simply sow directly into a container filled with mixed strand coco coir, appropriately sized for growing a seedling.

Sowing & Media
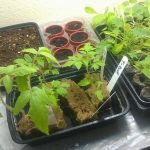
seedlings in various mediaSowing involves choosing a medium. For example, the many options and methods picture to the left. Lots of premixed starter mediums can be purchased off the shelf. However, mixing your own media is the best method. Many store mixes also use Peat Moss. Peat moss is a renewable resource, if you consider that it takes 5 to 10 years for a mined bog to once again become a functioning wetland, and 25 years or more to restore only 90% of the original flora of the peat bog. As horticultural enthusiasts, its ironic to destroy beautiful and bio diverse wetlands to help us grow our own plant life, when great alternatives like coco coir readily exist.

Coco Coir stays well aerated, is ph neutral, void of nutrients, and retains water for long periods of time. Its perfect at providing oxygen and moisture to germinating seeds, without risking burn or die out due to fertilizers and unwanted pathogens. Coco Coir vendors are everywhere too, Online Coco Coir Vendors

Find and recycle small clear plastic containers with lids, like the ones used for ‘to go’ or ‘takeaway’ foods like soups, salsas, or sides. Use deeper ones so that seedlings will have room to root, and grow above the ‘soil‘ line. Saturate coco coir with water, and then squeeze off the excess. Ideally you would use a distilled or purified water, with some minerals added back to it for ph balance. Typically, unless your have terribly hard or soft tap water, your tap will be okay. When wet, coco coir expands to about 5 to 8 times its dry size, so be mindful and only create as much media as needed.

Fill the container with a ‘mixed’ coco coir fiber, but do not pack or tamp the media! ‘Mixed’ means that coir contains chunks, dust, and strands of coco fiber. It makes the media more soil like, and provides slightly better anchoring for roots than pure ground fiber or dust. Its also fine to add perlite, 1:1 with coco coir, to change the consistency and aeration should you decide you need to. Use your best judgemet, and do so at your discretion.
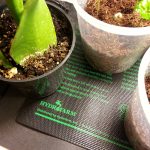
Hydrofarm Heat MatSow seeds in the starter media, and cover lightly. Close the lid of the container, but leave an edge open for ventilation. Place the container on a seedling heat mat under a seed starting light. A 5600k CFL light bulb in a brooder lamp base, will work just fine. If a 2700k soft cfl is all you have, it will suffice, unto the point your seedlings show true leaves. If you do not have a seed starting light, or heat mat, get one. Many people say a warm window sill is okay, but most homes don’t have the ideal conditions in any window sill to properly germinate seed.

Without ranting too badly about the hundreds or thousands of useless and generic copy cat seed germination posts and videos incessantly pumped to the world wide web by the completely inexperienced, some of which seem to exist only to produce content and have no experience whatsoever beyond the skills necessary to plagiarize other misinformed articles, the best advice you can receive is to get a heat mat and a small cfl light bulb.

Don’t gamble on a window sill, or you might as well have just cast seed into the garden and hoped the weather was good. As for the massive strings of Christmas lights method, just don’t do it. Hundreds or thousands of tiny glass light bulbs have no business being stuffed into a small box to generate heat. Compare a minor difference in cost, as well as practicality, and a heat mat is many times better.

  • The Germination Chamber
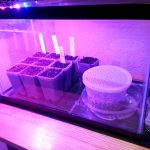
    If you have an old 5 to 10 gallon fish tank, with a lid or a large piece of plexiglass, you have a germination chamber. Place the tank on top of the heat mat, and the seedling containers inside. Place a thermometer inside the chamber, and monitor the temperature. It may be necessary to shim the lid to prevent an excess of moisture and condensation build up, and to prevent overheating. The additional layer of environmental insulation and stability increases success rates, and helps prevent exposure to unwanted pathogens.
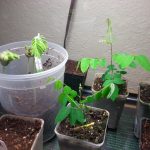
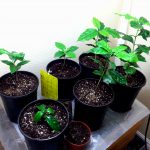
    Germination ChamberPlants being babied indoors
    If you use a Germination Chamber, that may be enough to maintain temperature and moisture for seeds in open starter plugs. If there is space inside your chamber around your containers, experiment with less valuable seeds in the empty space.

Continued Care of Seedlings
Try to maintain a temperature between 68 and 85 degrees, with a night time fluctuation of 10 degrees cooler. The ideal temperatures depend on seed type, and correlate logically with a plants natural environment. Every couple of days, very gently excavate the media covering seeds to see if any are rotting. Remove any that look unhealthy. Gently cover healthy seeds. Eventually healthy seeds will green up, and they should be left alone, to lift their seed head from the media. Halfway remove the lid or leave uncovered once cotyledon leaves are showing. The seedlings will eventually need water, so use the moisture on the clear sides of the container as an indicator as to when seedlings need water.

Be sure to provide plenty of light so that plants do not get too leggy, but if you provide too much light, they will wilt or die. As new leaves start to show, provide the plants with a very dilute water soluble fertilizer. Repeat every two weeks. Don’t use more than 1/4 to 1/10 the recommend amount of fertilizer. A good seedling fertilizer should contain a well rounded balance of both macro and micro nutrients, as well as thiamine and good levels of calcium and magnesium.

Inoculate your seedling. At this point, seeds have been treated aseptically. Not completely, but the goal has been cleanliness. As a result, plants have to natural immune defense to pathogens. Inoculating seedlings with a mycorrhizae will create strong symbiotic relationships between the seedling and good bacteria. The good bacteria should out compete any bad bacteria moving forward. Check out the side bar for a link to purchase mycorrhizae.

Hardening off Seedlings
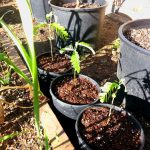
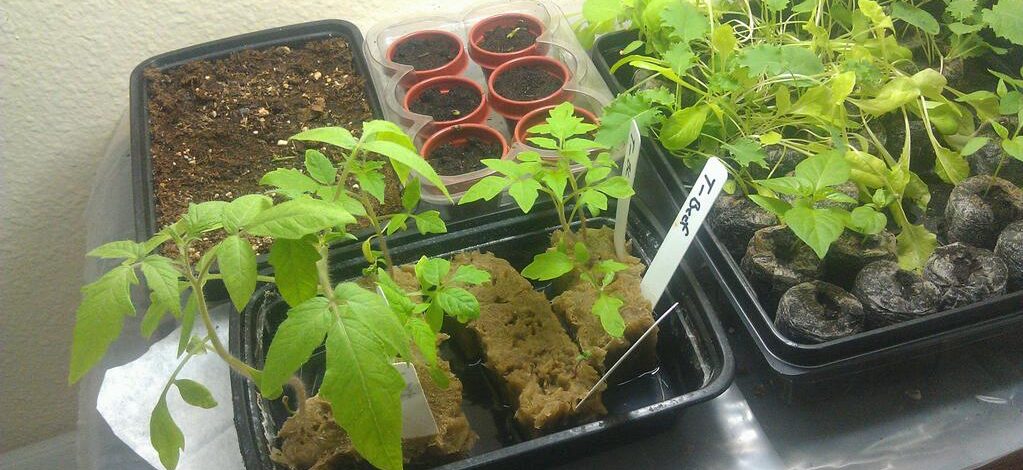
Sheltered Young Plants As the seedlings get larger transplant the seedlings into their own pots or containers. Be sure to provide adequate drainage and aeration, or your plants will succumb to seedling rot or dampening-off. Shuttle the plants into an area closer to its ultimate destination for a half an hour. Every day increase the time the plants spend in or nearer their final destinations. Be patient, and don’t expose your plants to extremes too quickly. Don’t forget your plants in the sun or filtered sun, or you will burn or kill them, and don’t over water your young plants at the first sing of stress.

Success
The methods in this guide have yielded great results, more so than the baggy method, and direct sow to soil or seed plugs.
Tags: , , | Comments

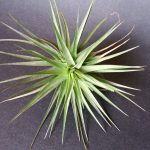
Tillandsia Stricta

| May 9, 2014
Tillandsia Stricta
Photo Credit: Keith Knoxsville
A Hen and a Drake Green Teal on the truck bed. Not a limit on anything, but a fun morning out.
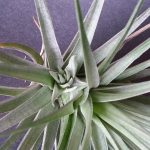
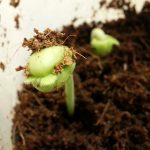
Tillandsia StrictaStricta Pup
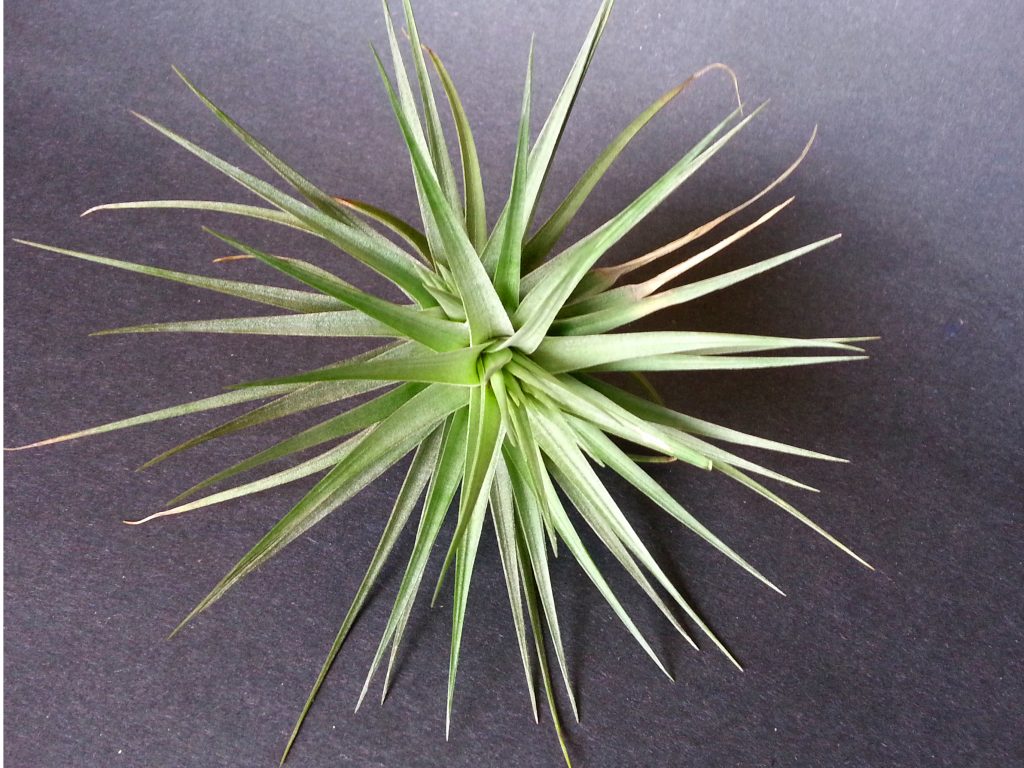
Tillandsia Stricta is one of the most common species of air plants. It is very easy to grow, fast growing, and tolerates a wide range of growing conditions. The most common have grey leaves, but can be blackish, or even silver in color.
Like most Tillandsias, Strictas are simple to care for. Completely soak in water once a week for 30 minutes, and supplement with misting from a spray bottle when hot or dry. Watering should be done in the earlier part of the day. Strictas are tolerant to limited direct sunlight, but thrives in bright filtered light, or under a fluorescent bulb.

The flower grows at the tip of a spike, is very colorful, but only occurs once in the Tillandsia Stricta life cycle.

Propagation can be done by seed, or by offsets commonly referred to as “pups”, produced during and after the flowering of a parent plant.

Tags: , | Comments

DIY Plant Tissue Culture Intro

| April 14, 2014
Photo Credit: Keith Knoxsville
A Hen and a Drake Green Teal on the truck bed. Not a limit on anything, but a fun morning out.

Tisue Culture Control PlantDIY-Tissue-Culture-IntroWe set up the plant lab to do micro-propagation, a.k.a plant tissue culture, or in vitro propagation, at the beginning of 2014. We have made batches of growing media, adjusted recipes, and tested a couple controls.

Our DIY plant tissue culture materials were sourced from a bunch of different places. A few items we had on hand, but most of the items were ordered online or bought in everyday stores. Our initial tools and equipment list was as follows.

Initial Equipment List:
25 1.5oz lab grade vials (ordered online) – 15
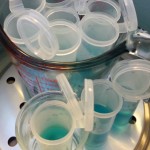
Clear Sterilite CD case to hold vials – 2
6 Quart Presto Pressure Cooker – 43
Talyor Digital Food Scale – 26
Stainless Steel Forceps – 3
100ml Beaker – 0
3.0 ml pipettes – 0
Lab Grade Agar Packet – 5
Pyrex 2 Cup Measuring Cup – 5
Sugar – 0
Liquid Fertilizer with Macro and Micro Nutrients – 4
All Natural Coconut Water – 2.50

Additional Supplies for Improvements:
3-10mg Micro Scoops
Citric Acid
PH Test Strips
70mm 400 Autoclavable Jar Lids
RTV High Temp Silicone Gasket Maker/Sealer
Cellulose .2um Synthetic Filter Disks (various sizes from 29mm disks to 70mm disks)
Rooting Hormone IBA
Half Pint, or Baby food jars with a 70mm 400 lip (standard Ball or Kerr lids)
Bleach
Hydrogen Peroxide
A spray bottle
Hobby knife blades

The initial cost of materials was just over 100 dollars. Additional supplies that improved success rates increased the the cost by about 30 dollars. Some additional components listed aren’t necessary, but are nice to have.

A lot of kits sold online will cost as much or more, and still require components like scales, an autoclave or a pressure cooker. So we are pretty content to be able to do successful tissue cultures for less than 150 dollars worth of equipment.

| Comments

Germinate Tamarind Seeds

| March 5, 2014
Tamarind Seed Sprout
Photo Credit: Keith Knoxsville
A Hen and a Drake Green Teal on the truck bed. Not a limit on anything, but a fun morning out.

Tamarind Trees(Tamarindus Indica) are attractive trees, with interesting leaf structures. They make great bonsai specimens, and add interest by being nyctinastic. What is a nyctinastic plant? Basically, they fold leaves downwards with the changes in light, environmental factors, and physical stress.

Tamarind seeds aren’t necessarily difficult to germinate, and they don’t necessarily need a “How To Germinate Tamarind Seeds” article per se, but without special treatment you can wait a long time for Tamarind seeds to germinate. Typical germination can take months. The longer a seed sits in soil, the greater the chance it will rot or become the victim of a pest. Natural germination can be unpredictable, so we help things along.

Our germination method can reduce the process to less than two weeks, and provide some quick gratification. We like that, and often times its not something we get from a garden.

Seed Preparation

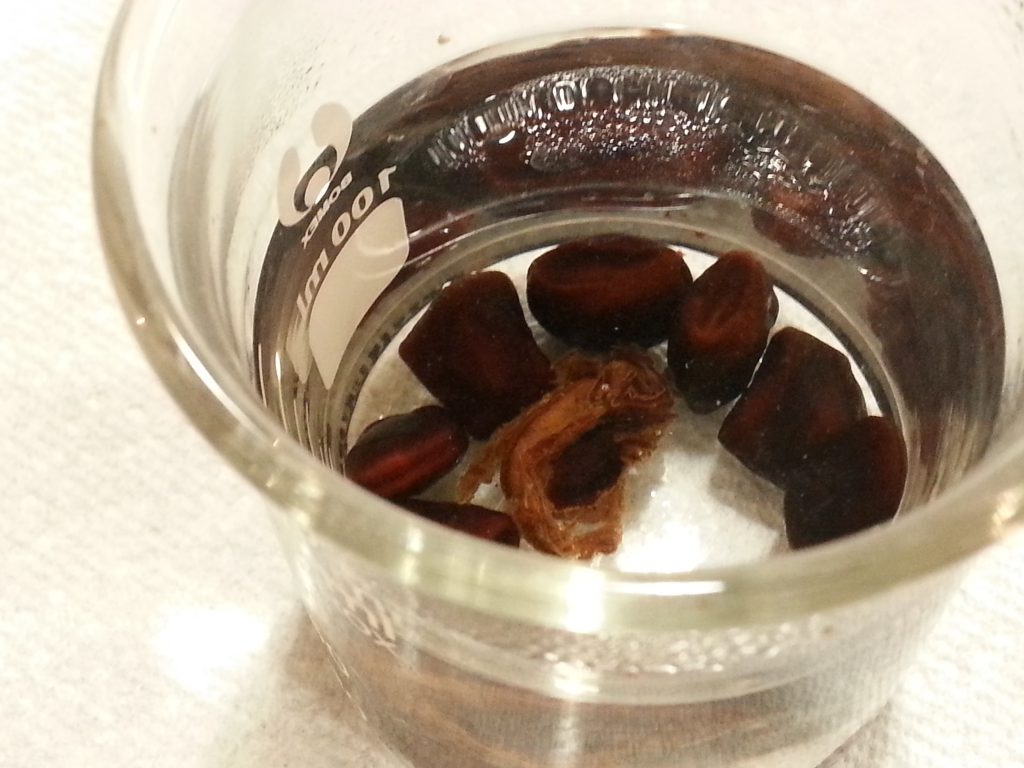
Tamarind Seed Soaks

Tamarind seeds soaking in scalding water.

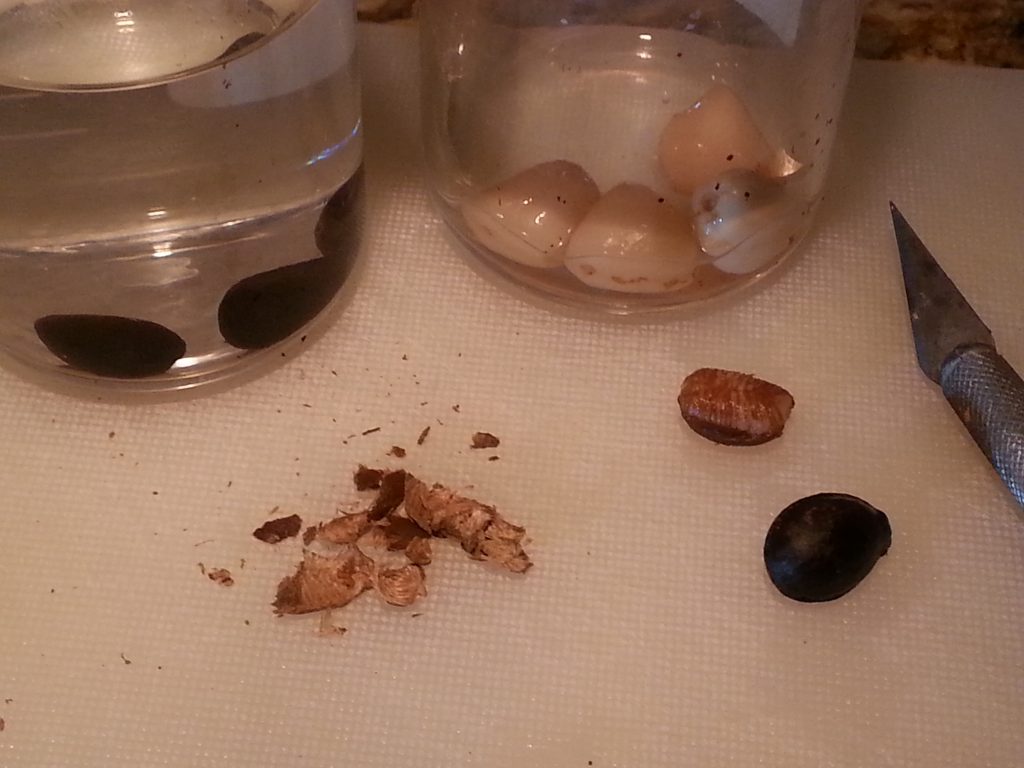
Tamarind Seed Coat

Tamarind seeds with the seed coats removed.

To speed the process and improve germination rates, scald the the seeds by pouring hot water over them. We mean Hot!, as in water that has been brought up to temperatures just shy of a boil. Let the seeds soak in a small amount of the hot water(less than 4 ounces), until the water is room temperature again. The outer seed coat should soften and a layer begin to slough off. This may not be immediately apparent, and will require repeat treatments.

Repeat the process a few more times until a sublayer of seed has been exposed, or can easily be exposed by removing the seed coat with your fingers. Using an electric tea kettle greatly speeds the process. Caution should be taken not to scald a seed that has no seed coat, or one that can easily be removed, or you will effectively cook and sterilize seed.

Let the seeds, clean of seed coats, sit in a final soak of room temperature water. The soak should only last a few hours, growth hormones, Superthrive, or other seed treatments can be added for this final soak.

Prepare your Planting media

For Tamarind seeds we used a pure coco fiber mix. Simply add warm water, mix until the coco fiber is saturated. Squeeze additional water from the coco so it becomes a little ‘fluffy’. Some coco fiber requires rinsing to remove salts. Read your coco fiber packaging to see if it recommends rinsing to leach out salts. Too help with aeration, and prevent over watering, use coco coir blended with perlite, instead of pure coco fiber.

Sowing Seeds

Tamarind

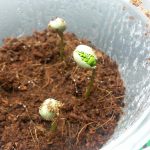
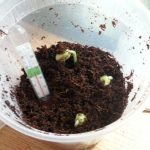
Tamarind Seeds Germinating in Coco Coir

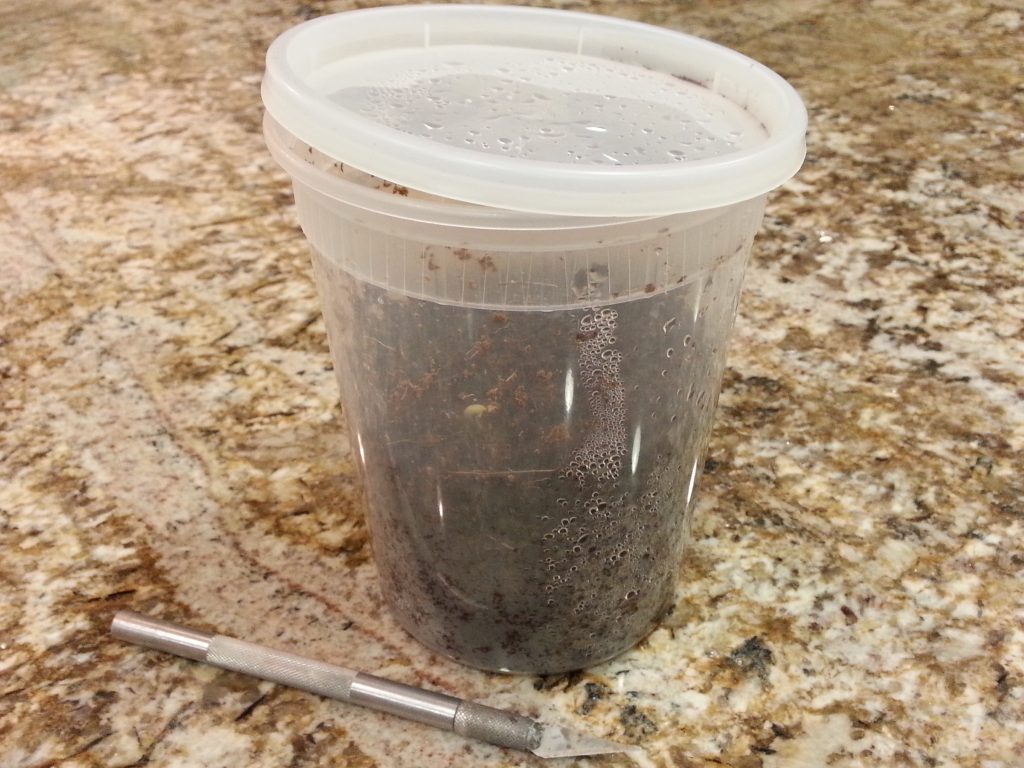
Select a deep, clear container, such as the ones used for soups when you order take out food. Fill the container at least 3 1/2 inches deep with the coco fiber we previously prepared. The clear pots allow us to easily monitor how much moisture is in the container, and lets us know when to add water or let vent more completely.

Gently poke one or two holes per pot, and place a seed on its side, in each hole. Leave seeds about a minimum of one inch apart. To prevent molds responsible for seed rot from spreading to other seeds. Cover the seeds with 1/4 inch of coco coir fiber. Mist pots from above, then cover, with the lid slightly cracked.

Germinate

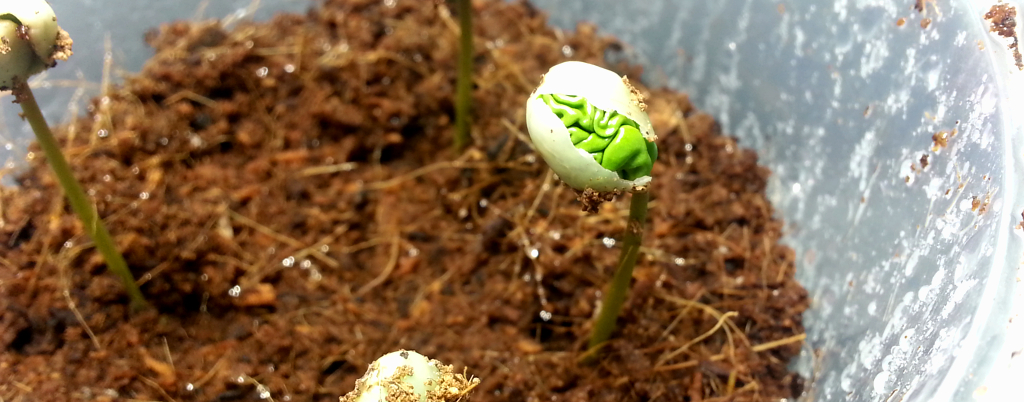
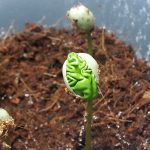
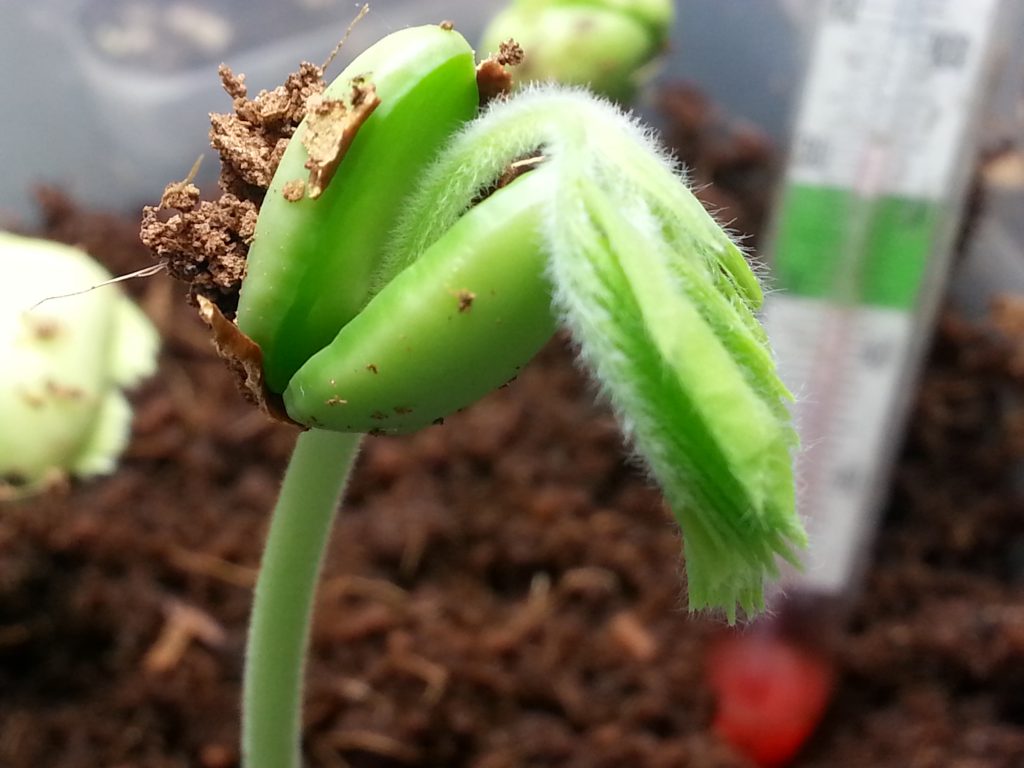
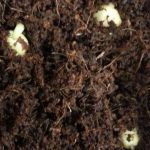
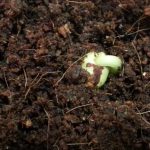
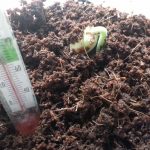
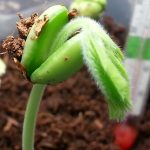
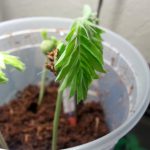
Germinating Tamarind SeedsGreening Seed with Radical Seed Rising from Coco FiberTamarind Seed LiftingTamarind first leavesFunny Looking SproutTamarind CotyledonTamarind Seedling

Our containers are placed in the GERMINATION CHAMBER. It sounds more awesome when you say GERMINATION CHAMBER, but its really just a small terrarium with a vented clear lid. A seed starting tray, with a vented cover, placed on a heat mat, with an overhead daylight fluorescent light bulb(5700k+) would work just fine.

If you don’t have a good fluorescent light, diffused light from a window should work okay. The GERMINATION CHAMBER is the most effective, way to germinate any small tropical seeds.

Continued Care

Coco coir can retain a lot of moisture, and provides a great environment for seed germination, but also for mold and seed rot. So forget being patient, gently take a peak everyday at your seeds, and remove any seeds that look like they are molding.

Seeds that are viable will stay light colored, a radical(main root) should emerge and turn downwards, and the sprouted seed will start a greening process. The radical will eventually lift the seed, and the cotyledon(primary leaves) will emerge.

Prevent over watering or keeping coco coir too moist as your seedlings grow to prevent damping off. Coco coir blended with perlite will help prevent overwatering, but is still void of nutrients. Its a good idea to use a very dilute water soluble fertilizer with a fairly even blend of nutrients, and plenty of micronutrients, during an occasional watering. Fertilizer should be done with discretion.

Tags: , , , , , , | Comments